Classification with Torchvision’s ResNet
This tutorial demonstrates how to pretrain a ResNet model from Torchvision using LightlyTrain and then fine-tune it for classification using PyTorch Lightning. We will perform pretraining and fine-tuning on two distinct datasets from Kaggle for human detection. Such datasets can be used for training models to detect humans in images, a basic task in industries like security and autonomous driving. Note that for pretraining no labels are needed.
Install LightlyTrain
LightlyTrain can be installed directly from PyPI:
pip install lightly-train
Pretrain ResNet with LightlyTrain
Download the Pretraining Dataset
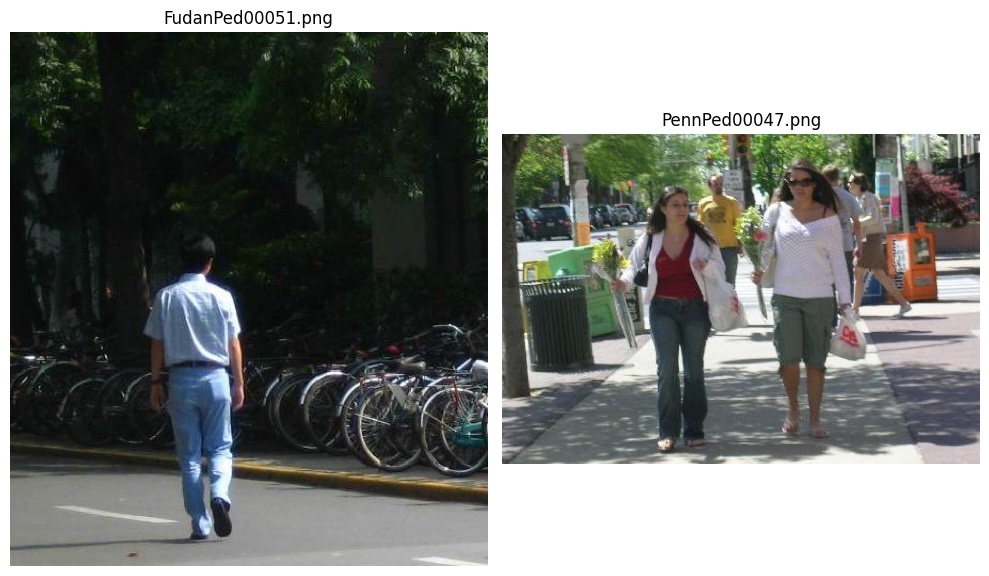
Here we use a dataset for human detection on Kaggle for pretraining. It contains 170 PNG images of various sizes containing humans. We only use such a small dataset for demonstration purposes. In practice, you would want to use a much larger dataset for pretraining.
You can download the dataset directly from Kaggle using the following commands (suppose
you want the dataset to locate in datasets):
curl -L --create-dirs -o datasets/human-detection-dataset-pretraining.zip \
https://www.kaggle.com/api/v1/datasets/download/killa92/human-detection-dataset
Extract the zip file. The extracted directory PennFudanPed contains four
subdirectories: train_images, train_masks, valid_images, and valid_masks. For
pretraining, we will only use the train_images directory. No masks or labels are
required.
We will rename the PennFudanPed/train_images directory to
human-detection-dataset-pretraining
unzip datasets/human-detection-dataset-pretraining.zip -d datasets/ && \
mv datasets/PennFudanPed/train_images datasets/human-detection-dataset-pretraining/
tree -L 1 datasets/human-detection-dataset-pretraining
> datasets/human-detection-dataset-pretraining
> ├── FudanPed00002.png
> ├── ...
Inspect Images for Pretraining
Let’s inspect a few images from the train_images to understand the pretraining dataset
better. We will randomly select two images and display them using Matplotlib.
# pretrain_inspect_images.py
import random
from pathlib import Path
from typing import List

import matplotlib.pyplot as plt
import numpy as np
from PIL import Image

# Suppose you have the dataset in the datasets/ directory
dataset_path = Path("datasets") / "human-detection-dataset-pretraining"

# Function to get two random images from a directory
def get_two_random_images(directory: Path) -> List[str]:
    image_files = list(directory.glob('*.png'))
    selected_files = random.sample(image_files, 2)
    images = []

    for file_path in selected_files:
        img = Image.open(file_path)
        images.append((img, file_path.name))

    return images

# Get random images
train_images = get_two_random_images(dataset_path)
# Set up the figure for display
fig, axs = plt.subplots(1, 2, figsize=(10, 10))

# Display images from the training set
for i, (img, filename) in enumerate(train_images):
    axs[i].imshow(np.array(img))
    axs[i].set_title(f"{filename}")
    axs[i].axis('off')

plt.tight_layout()
plt.show()
Pretraining Script with LightlyTrain
We will use LightlyTrain to pretrain a ResNet18 model.
The following scripts or CLI commands will:
Initialize a ResNet18 model from Torchvision weights using LightlyTrain.
Pretrain the ResNet18 model on the pretraining dataset.
Export the pretrained ResNet18 model.
# pretrain_resnet.py
import lightly_train
from pathlib import Path

# Suppose you have the dataset in the datasets/ directory
dataset_path = Path("datasets") / "human-detection-dataset-pretraining"

if __name__ == "__main__":
    lightly_train.pretrain(
        out="out/my_experiment",                # Output directory.
        data=dataset_path,                      # Directory with images.
        model="torchvision/resnet18",           # Pass the Torchvision model.
        epochs=100,                             # Adjust epochs for faster training.
        batch_size=64,                          # Adjust batch size based on hardware.
    )
lightly-train pretrain out="out/my_experiment" data="datasets/human-detection-dataset-pretraining" model="torchvision/resnet18"
Fine-tune ResNet with PyTorch Lightning
Download the Fine-tuning Dataset
Here we use
another dataset for human detection on Kaggle
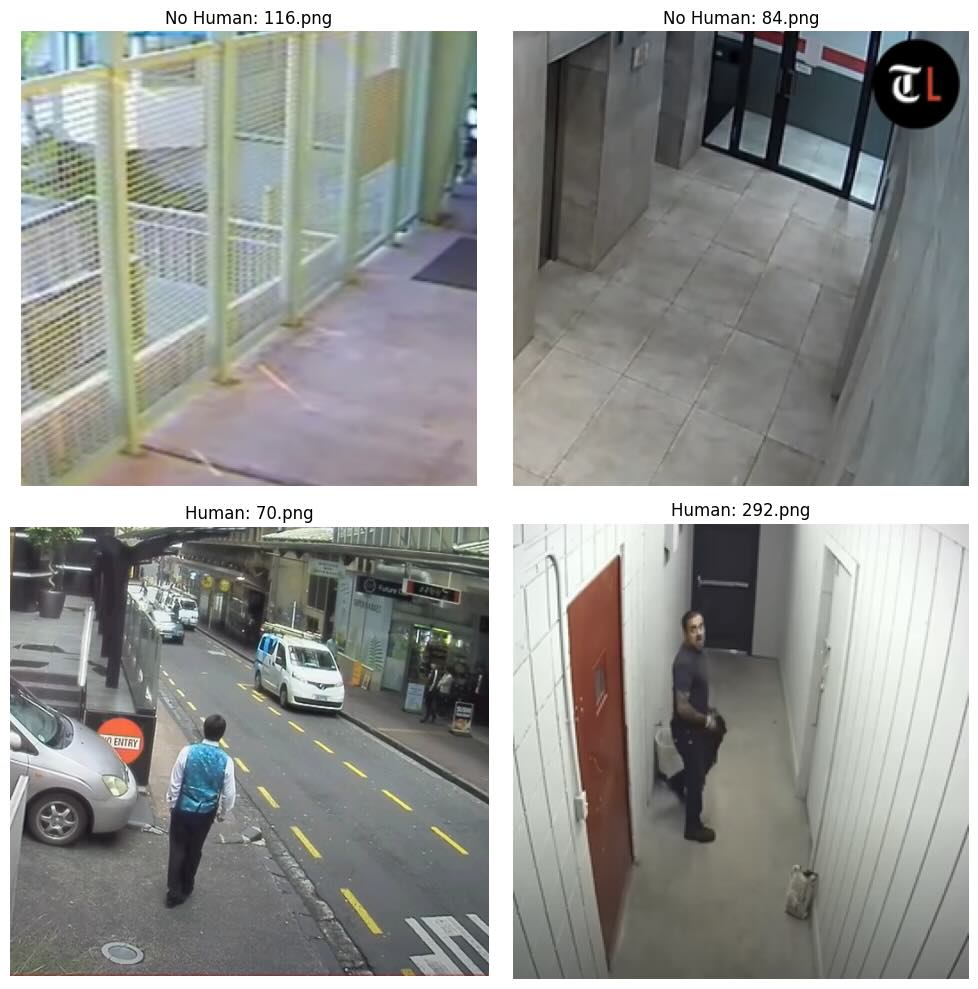
for fine-tuning. It contains 921 PNG images of size 256x256 pixels from videos of humans
(label 1) and no humans (label 0).
You can download the dataset directly from Kaggle using the following commands (suppose
you want the dataset to locate in datasets):
curl -L --create-dirs -o datasets/human-detection-dataset-fine-tuning.zip \
https://www.kaggle.com/api/v1/datasets/download/constantinwerner/human-detection-dataset
Extract the zip file and rename the directory to human-detection-dataset-fine-tuning.
unzip datasets/human-detection-dataset-fine-tuning.zip -d datasets/ && \
mv datasets/"human detection dataset" datasets/human-detection-dataset-fine-tuning/
The resulting dataset directory contains two classes in its subdirectories: 0 for
images without humans and 1 for images with humans.
tree -L 1 datasets/human-detection-dataset-fine-tuning
> datasets/human-detection-dataset-fine-tuning
> ├── 0
> └── 1
Split the Fine-tuning Dataset
Before we can fine-tune the model, we need to split the dataset into training and
validation sets. We will use 80% of the images for training and 20% for validation. The
following Python script will create the train and val directories and move the
images into their respective subdirectories.
# finetune_dataset_split.py
import random
from pathlib import Path

# Suppose you have the dataset in the datasets/ directory
dataset_path = Path("datasets") / "human-detection-dataset-fine-tuning"

# Define class names (subdirectories) in the dataset
classes = ['0', '1']

# Create train and val directories with subdirectories for each class
for split in ['train', 'val']:
    for data_class in classes:
        (dataset_path / split / data_class).mkdir(parents=True, exist_ok=True)

# Process each class folder
for data_class in classes:
    class_dir = dataset_path / data_class
    # List all files in the class directory
    files = list(class_dir.glob("*.png"))
    # Shuffle the file list to randomize the split
    random.shuffle(files)
    # Calculate the split index for 80% training data
    split_idx = int(len(files) * 0.8)

    # Select files for training and validation
    train_files = files[:split_idx]
    val_files = files[split_idx:]

    # Move training files to the train subdirectory
    for file_path in train_files:
        dest_path = dataset_path / 'train' / data_class / file_path.name
        file_path.rename(dest_path)

    # Move validation files to the val subdirectory
    for file_path in val_files:
        dest_path = dataset_path / 'val' / data_class / file_path.name
        file_path.rename(dest_path)

    class_dir.rmdir()
The resulting dataset directory contains two split subdirectories: train and val,
each with two classes in their subdirectories.
tree -L 2 datasets/human-detection-dataset-fine-tuning
> datasets/human-detection-dataset-fine-tuning
> ├── train
> │   ├── 0
> │   └── 1
> └── val
>     ├── 0
>     └── 1
Inspect Images for Fine-tuning
Let’s inspect a few images from each class in the fine-tuning dataset to understand it better. We will randomly select two images from each class and display them using Matplotlib.
# finetune_inspect_images.py
import random
from pathlib import Path
from typing import List

import matplotlib.pyplot as plt
import numpy as np
from PIL import Image

# Suppose you have the dataset in the datasets/ directory
dataset_path = Path("datasets") / "human-detection-dataset-fine-tuning"

# Define paths to the training image directories
train_data_path = dataset_path / "train"
class_0_dir = train_data_path / "0"  # No human
class_1_dir = train_data_path / "1"  # Human

# Function to get two random images from a directory
def get_two_random_images(directory: Path) -> List[str]:
    image_files = list(directory.glob('*.png'))
    selected_files = random.sample(image_files, 2)
    images = []

    for file_path in selected_files:
        img = Image.open(file_path)
        images.append((img, file_path.name))

    return images

# Get random images from each class
class_0_images = get_two_random_images(class_0_dir)
class_1_images = get_two_random_images(class_1_dir)

# Set up the figure for display
fig, axs = plt.subplots(2, 2, figsize=(10, 10))

# Display images from class 0 (no human)
for i, (img, filename) in enumerate(class_0_images):
    axs[0, i].imshow(np.array(img))
    axs[0, i].set_title(f"No Human: {filename}")
    axs[0, i].axis('off')

# Display images from class 1 (human)
for i, (img, filename) in enumerate(class_1_images):
    axs[1, i].imshow(np.array(img))
    axs[1, i].set_title(f"Human: {filename}")
    axs[1, i].axis('off')

plt.tight_layout()
plt.show()
Fine-tuning Script with PyTorch Lightning
We will use PyTorch Lightning to fine-tune the ResNet18 model pretrained with LightlyTrain on the above dataset.
The following script will:
Load the pretrained ResNet18 model.
Define a PyTorch Lightning module and change the last layer to output two classes.
Define a PyTorch Lightning data module with training and validation data loaders.
Initialize a PyTorch Lightning trainer.
Fine-tune the model on the fine-tuning dataset.
# finetune_resnet.py
from pathlib import Path

import pytorch_lightning as pl
import torch
import torch.nn as nn
from torch.optim import Adam
from torch.utils.data import DataLoader
from torchvision.datasets import ImageFolder
from torchvision.models import resnet18
from torchvision.transforms.v2 import Compose, Normalize, Resize, ToDtype, ToImage

# Suppose you have the dataset in the datasets/ directory
dataset_path = Path("datasets") / "human-detection-dataset-fine-tuning"

def get_model(
    checkpoint_path: str,
    num_classes: int,
):
    model = resnet18()
    state_dict = torch.load(checkpoint_path, weights_only=True)
    model.load_state_dict(state_dict)

    # Change the last layer for the number of classes
    model.fc = nn.Linear(model.fc.in_features, num_classes)

    return model


class ResNet18Classifier(pl.LightningModule):
    def __init__(self, checkpoint_path, num_classes):
        super().__init__()
        self.save_hyperparameters()

        self.model = get_model(checkpoint_path, num_classes)
        self.criterion = nn.CrossEntropyLoss()

    def forward(self, x):
        return self.model(x)

    def training_step(self, batch, batch_idx):
        x, y = batch
        logits = self(x)
        loss = self.criterion(logits, y)

        preds = torch.argmax(logits, dim=1)
        acc = (preds == y).float().mean()

        self.log('train_loss', loss, prog_bar=True)
        self.log('train_acc', acc, prog_bar=True)

        return loss

    def validation_step(self, batch, batch_idx):
        x, y = batch
        logits = self(x)
        loss = self.criterion(logits, y)

        preds = torch.argmax(logits, dim=1)
        acc = (preds == y).float().mean()

        self.log('val_loss', loss, prog_bar=True)
        self.log('val_acc', acc, prog_bar=True)


        return loss

    def configure_optimizers(self):
        optimizer = Adam(self.parameters())
        return optimizer


class HumanClassificationDataModule(pl.LightningDataModule):
    def __init__(self, train_data_path, val_data_path, batch_size=32):
        super().__init__()
        self.train_data_path = train_data_path
        self.val_data_path = val_data_path
        self.batch_size = batch_size

        # Define transforms
        self.train_transform = Compose(
            [
                Resize((224, 224)),  # ResNet18 expects 224x224 images
                ToImage(),
                ToDtype(torch.float32, scale=True),
                Normalize(mean=[0.485, 0.456, 0.406], std=[0.229, 0.224, 0.225]),
            ]
        )

        self.val_transform = Compose(
            [
                Resize((224, 224)),  # ResNet18 expects 224x224 images
                ToImage(),
                ToDtype(torch.float32, scale=True),
                Normalize(mean=[0.485, 0.456, 0.406], std=[0.229, 0.224, 0.225]),
            ]
        )

    def train_dataloader(self):
        train_dataset = ImageFolder(root=self.train_data_path, transform=self.train_transform)
        return DataLoader(
            train_dataset,
            batch_size=self.batch_size,
            shuffle=True,
        )

    def val_dataloader(self):
        val_dataset = ImageFolder(root=self.val_data_path, transform=self.val_transform)
        return DataLoader(
            val_dataset,
            batch_size=self.batch_size,
            shuffle=False,
        )

if __name__ == "__main__":
    # Initialize model and data module
    model = ResNet18Classifier(
        checkpoint_path="out/my_experiment/exported_models/exported_last.pt",
        num_classes=2,
    )

    data_module = HumanClassificationDataModule(
        train_data_path=dataset_path / "train",
        val_data_path=dataset_path / "val",
        batch_size=32
    )

    # Initialize trainer
    trainer = pl.Trainer(
        max_epochs=10,
        log_every_n_steps=16,
    )

    # Fine-tune the model
    trainer.fit(model, data_module)
    # Validate the model performance
    trainer.validate(model, data_module)
Congratulations! You have successfully pretrained a model using LightlyTrain and fine-tuned it for classification using PyTorch Lightning.
For more advanced options, explore the LightlyTrain Python API and PyTorch Lightning documentation.
Next Steps
Go beyond the default distillation pretraining and experiment with other pretraining methods in LightlyTrain. Check Methods for more information.
Try various Torchvision models supported by LightlyTrain.
Use the pretrained model for other tasks, like image embeddings.