05 Optional: Using LightlyEdge with OpenCV#
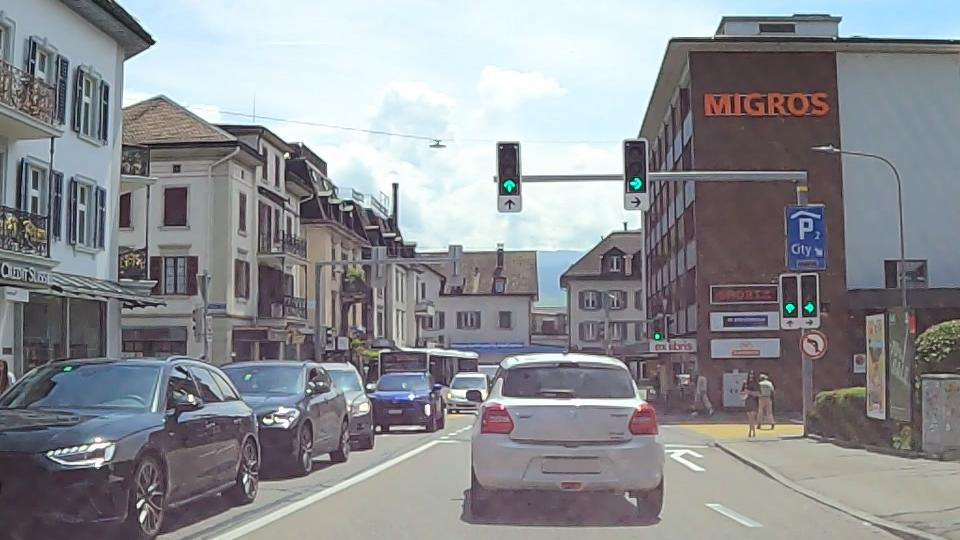
OpenCV is a popular library to process images and videos. In this short guide we show how to use it with LightlyEdge by running embedding and object detection for this image:
Project Setup#
The setup is similar to the other guides.
Inside of the existing
getting_startedfolder create a new folder05_using_opencv.mkdir -p getting_started/05_using_opencv
Right-click and download the image above into
05_using_opencv/swiss_town.jpg
After completing this guide, the folder structure will be as follows:
getting_started
├── 02_similarity_search
│   └── ...
├── 03_diversity_selection
│   └── ...
├── 04_object_detection
│   └── ...
├── 05_using_opencv
│   ├── swiss_town.jpg
│   └── main.py
└── lightly_model.tar
Note
In this example we use the model version lightly_model_14.tar. You might
need to adjust values in this tutorial if your model version differs.
Run a Complete Example#
Create 05_using_opencv/main.py and copy the contents below into it.
import cv2
from lightly_edge_sdk import LightlyEdge, LightlyEdgeConfig, LightlyEdgeDetectorConfig


# Initialize the LightlyEdge SDK.
print("Initializing LightlyEdge...")
config = LightlyEdgeConfig.default()
config.detector_config = LightlyEdgeDetectorConfig(
    object_detector_enable=True,
    classifiers_enable=True,
    max_classifications=5,
)
lightly_edge = LightlyEdge(path="../lightly_model.tar", config=config)

# Load the image.
bgr_image = cv2.imread("swiss_town.jpg")
rgb_image = cv2.cvtColor(bgr_image, cv2.COLOR_BGR2RGB)
rgb_bytes = rgb_image.tobytes()
height, width, _ = rgb_image.shape

# Embed the image.
embedding = lightly_edge.embed_frame_rgb_bytes(rgb_bytes=rgb_bytes, width=width, height=height)
print(f"Embedding: {embedding[0]:.4f}, {embedding[1]:.4f}, {embedding[2]:.4f}, ...")

# Run object detection.
detections = lightly_edge.detect_rgb_bytes(rgb_bytes=rgb_bytes, width=width, height=height)
print(f"Detected {len(detections)} objects.")
First we initialize LightlyEdge with detection enabled. Next we load the image with OpenCV and convert it to RGB so that it can be processed by LightlyEdge.
LightlyEdge provides the following two functions that are drop-in replacements for their counterparts that accept a PIL image. They both accept a byte array in row-major RGB order, the image width and the image height:
LightlyEdge.embed_frame_rgb_bytes returns the image embedding.
LightlyEdge.detect_rgb_bytes returns object detections in the image.
Run it:
# Enter the project folder.
cd 05_using_opencv

# Run the Python script
python main.py
The output should be similar to the following, the embedding and detections might differ deppending on your machine architecture:
Initializing LightlyEdge...
Embedding: -22.6015, -14.1672, 0.7839, ...
Detected 14 objects.
Next Steps#
In the next section you will learn how to run classification selection with LightlyEdge.