06 Classification Selection#
In this guide, we will use the “classification” strategy. It selects frames with a
given class_id provided by a classifier loaded from disk.
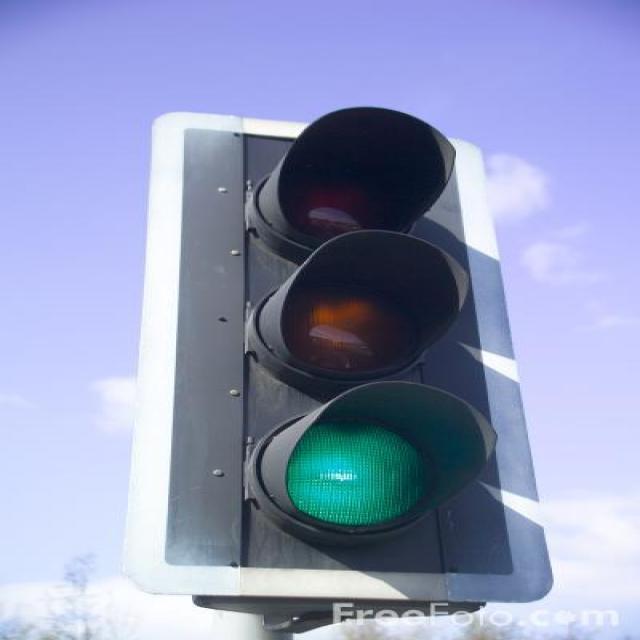
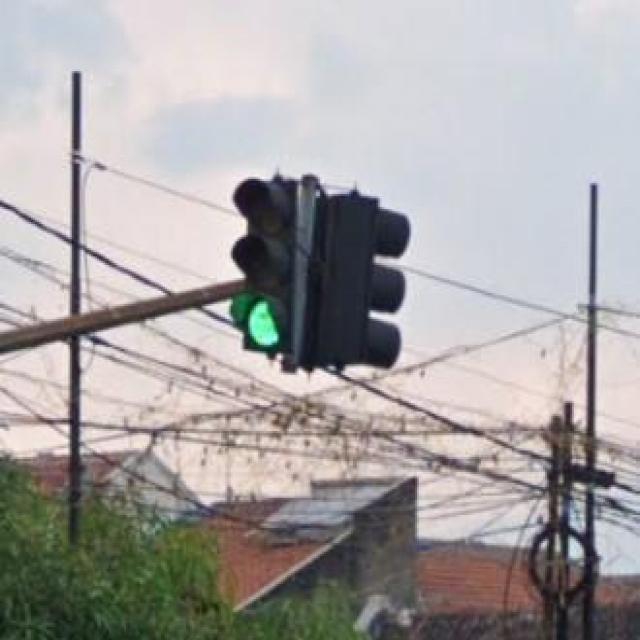
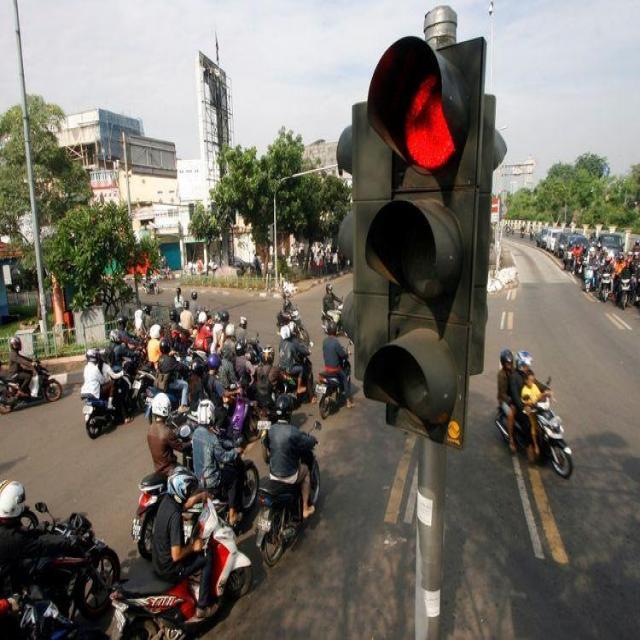
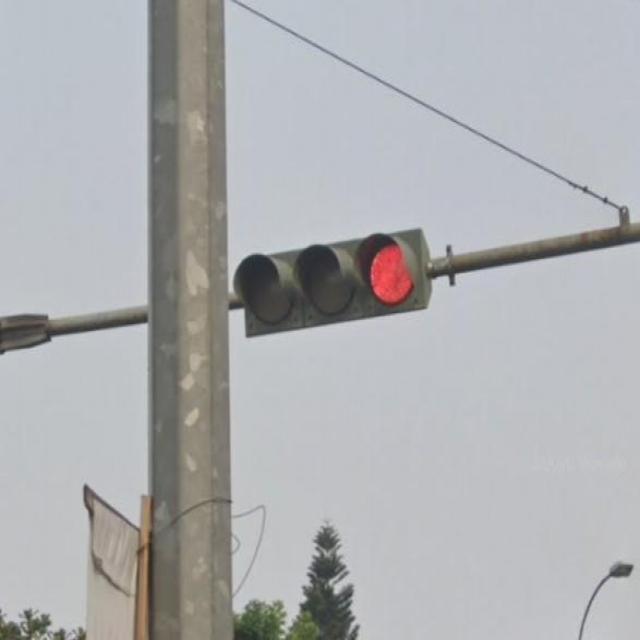
In this example using the classification strategy, we will identify images that contain green traffic lights.
Project Setup#
The setup is similar to the other guides.
Inside of the existing
getting_startedfolder create a new folder06_classification_selection.mkdir -p getting_started/06_classification_selection
Right-click and download the four images above into
06_classification_selection/imagesCopy there the provided
green_light.pklclassifier file to06_classification_selectionfolder.
After completing this guide, the folder structure will be as follows:
getting_started
├── 02_similarity_search
│   └── ...
├── 03_diversity_selection
│   └── ...
├── 04_object_detection
│   └── ...
├── 05_using_opencv
│   └── ...
├── 06_classification_selection
│   ├── images/
│   ├── green_light.pkl
│   └── main.py
└── lightly_model.tar
Run a Complete Example#
Create 06_classification_selection/main.py and copy the contents below into it.
We will first run the example, and explain it right after.
from lightly_edge_sdk import LightlyEdge
from PIL import Image


# Initialize the LightlyEdge SDK.
print("Initializing LightlyEdge...\n")
lightly_edge = LightlyEdge(path="../lightly_model.tar")

# Register a classification strategy using the green_light.pkl classifier.
# We leave the class_id empty to use the default value - the first class, "green light - positive" in our case.
lightly_edge.register_classification_strategy(classifier_path="./green_light.pkl")

# Iterate over the images
image_paths = [
    "images/green_light_1.jpg",
    "images/green_light_2.jpg",
    "images/red_light_1.jpg",
    "images/red_light_2.jpg",
]

for image_path in image_paths:
    # Embed the image and check if it should be selected.
    with Image.open(image_path) as frame:
        print(f"Loading image: {image_path}")
        image_embedding = lightly_edge.embed_frame(frame=frame)

    select_info = lightly_edge.should_select(embedding=image_embedding)
    classification_select_info = select_info.classification[0]

    # Print whether the image is selected.
    print(f"Should select: {classification_select_info.should_select}\n")

print("Program successfully finished.")
Run it:
# Enter the project folder.
cd 06_classification_selection

# Run the Python script
python main.py
The output should be the following:
Initializing LightlyEdge...

Loading image: images/green_light_1.jpg
Should select: True

Loading image: images/green_light_2.jpg
Should select: True

Loading image: images/red_light_1.jpg
Should select: False

Loading image: images/red_light_2.jpg
Should select: False

Program successfully finished.
We see that only the images containing green traffic lights are selected.
Classification Selection#
Classification selection provides an efficient way to identify frames of interest. The classifier is trained with positive and negative samples for the target object. It receives frame embeddings and assigns each frame to one of the trained classes. Training can be performed using a UI application offered by Lightly. It can be used as an alternative to similarity search in scenarios where defining suitable similarity parameters is challenging.
There are several steps needed to set up classification selection. Let’s start with the initialization code:
# Initialize the LightlyEdge SDK.
print("Initializing LightlyEdge...\n")
lightly_edge = LightlyEdge(path="../lightly_model.tar")

# Register a classification strategy using the green_light.pkl classifier.
# We leave the class_id empty to use the default value - the first class, "green light - positive" in our case.
lightly_edge.register_classification_strategy(classifier_path="./green_light.pkl")
LightlyEdge is first initialized from a TAR archive. Recall that we can register any
number of selection strategies with LightlyEdge. We register a single classification strategy
with lightly_edge_sdk.LightlyEdge.register_classification_strategy.
The function accepts two arguments: classifier_path and class_id. You provide the classifier pkl file using classifier_path and the ID of the class you want to detect using
class_id. You can see the available classes by oppening the pkl file (you can use https://netron.app/ ) and checking the metadata.class_names field. The class_id is the index (starting at 0) of the target class in the class_names list from the classifier’s metadata. The class_id argument is optional and if not provided the first class will be used by default.
Next, images are processed in a for loop:
for image_path in image_paths:
    # Embed the image and check if it should be selected.
    with Image.open(image_path) as frame:
        print(f"Loading image: {image_path}")
        image_embedding = lightly_edge.embed_frame(frame=frame)

    select_info = lightly_edge.should_select(embedding=image_embedding)
    classification_select_info = select_info.classification[0]

    # Print whether the image is selected.
    print(f"Should select: {classification_select_info.should_select}\n")

print("Program successfully finished.")
The code first embeds the image and calls lightly_edge_sdk.LightlyEdge.should_select which returns lightly_edge_sdk.SelectInfo. The structure contains the decision of each registered strategy whether a frame should be selected.
We load the decision for the single strategy we registered into classification_select_info.
Finally, we print whether the image was selected and its distance to the closest embedding in the database.
Next Steps#
Congratulations! At this point you have completed the Getting Started guide. For more details about the available interfaces, take a look at LightlyEdge API reference.