AWS S3 Setup
This guide walks through creating an AWS IAM user with the permissions LightlyStudio needs to access your S3 bucket. Once you have the credentials, follow Cloud Storage to add them in the GUI.
Required Permissions
LightlyStudio needs the following S3 permissions on your bucket:
s3:ListBucket— list objects in the buckets3:GetObject— read images and videos
Step 1: Create an IAM User
-
Go to the AWS IAM console and click Create user. Enter a name (e.g.
Lightly) and click Next.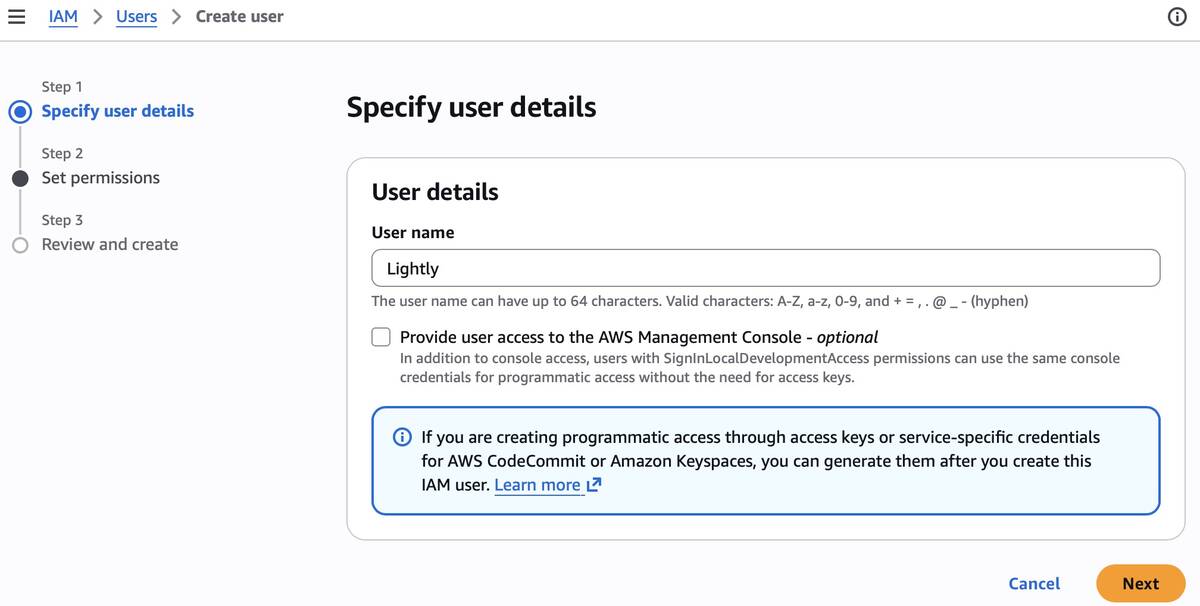
-
On the Set permissions page, skip adding permissions for now. You will add an inline policy after the user is created. Click Next, then Create user.
-
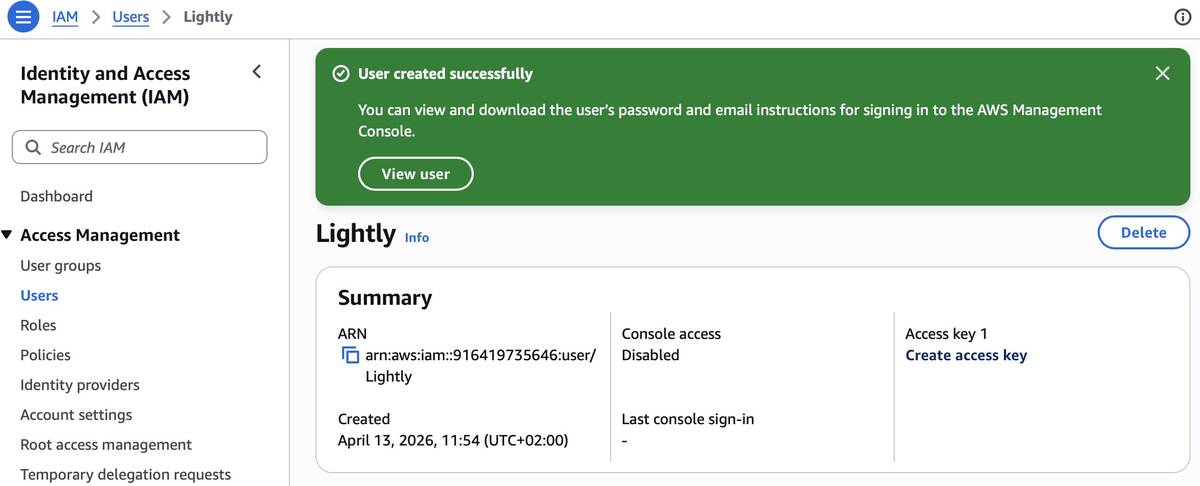
You should see a success banner. Click View user to open the user detail page.
Step 2: Add an Inline Policy
-
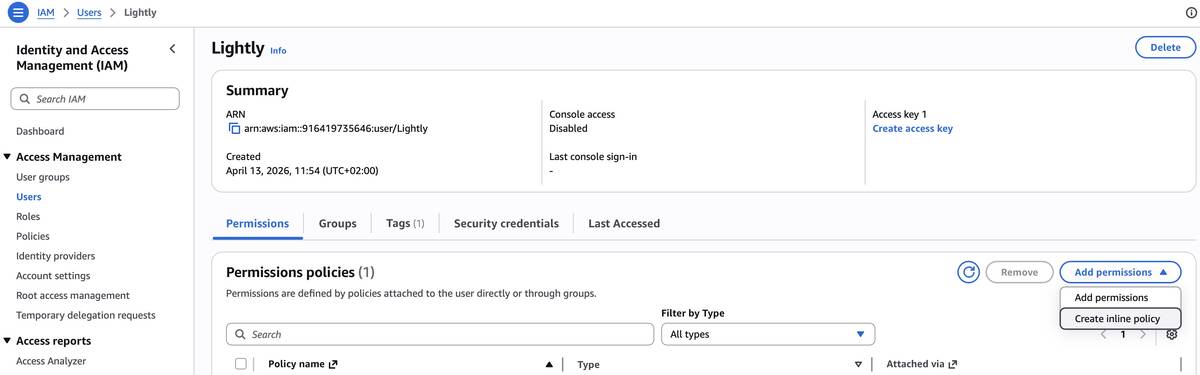
On the user detail page, open the Permissions tab. Click Add permissions → Create inline policy.
-
Switch to the JSON tab and paste the policy below. Replace
my-bucketwith the name of your S3 bucket. Click Next, give the policy a name (e.g.LightlyStudio-S3-ReadOnly), and click Create policy.lightly-s3-policy.json{ "Version": "2012-10-17", "Statement": [ { "Effect": "Allow", "Action": "s3:ListBucket", "Resource": "arn:aws:s3:::my-bucket" }, { "Effect": "Allow", "Action": "s3:GetObject", "Resource": "arn:aws:s3:::my-bucket/*" } ] }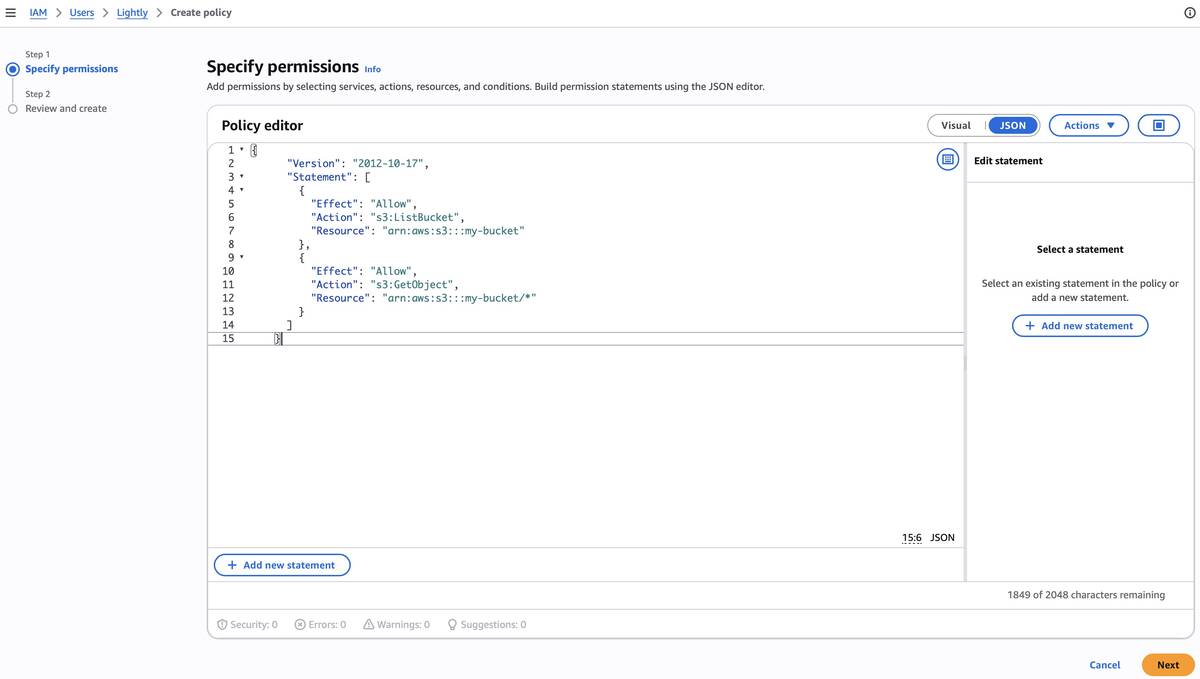
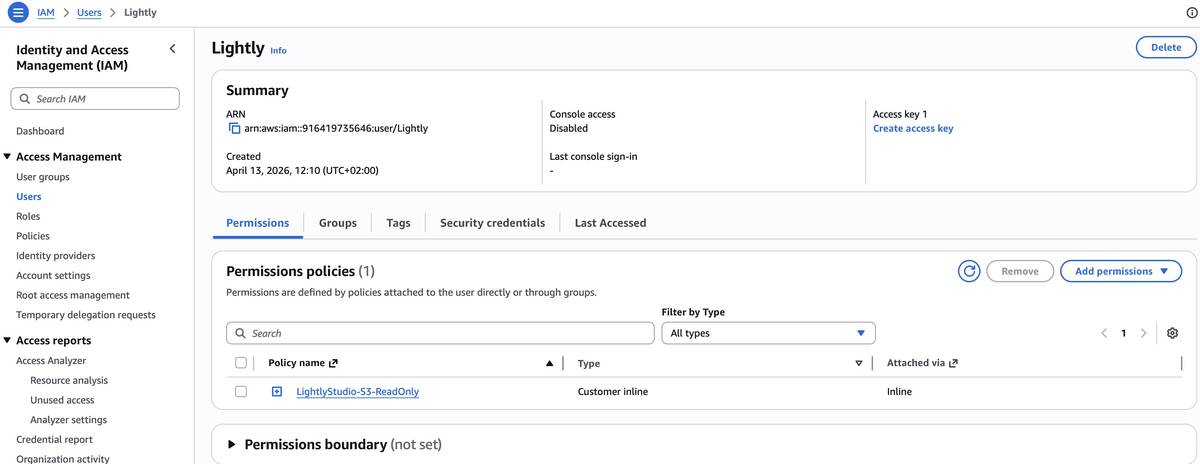
Step 3: Create an Access Key
-
Back on the user detail page, find the Create access key link in the summary (top-right corner).
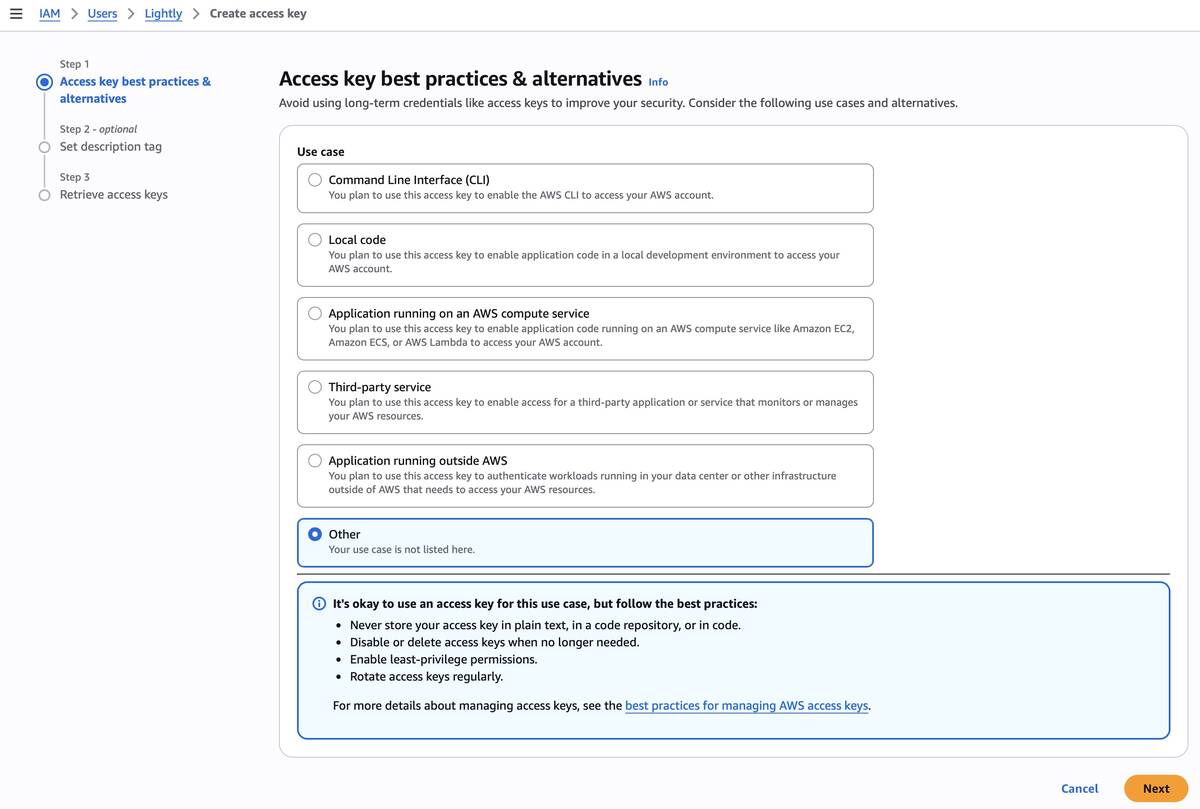
-
Select Other as the use case and click Next.
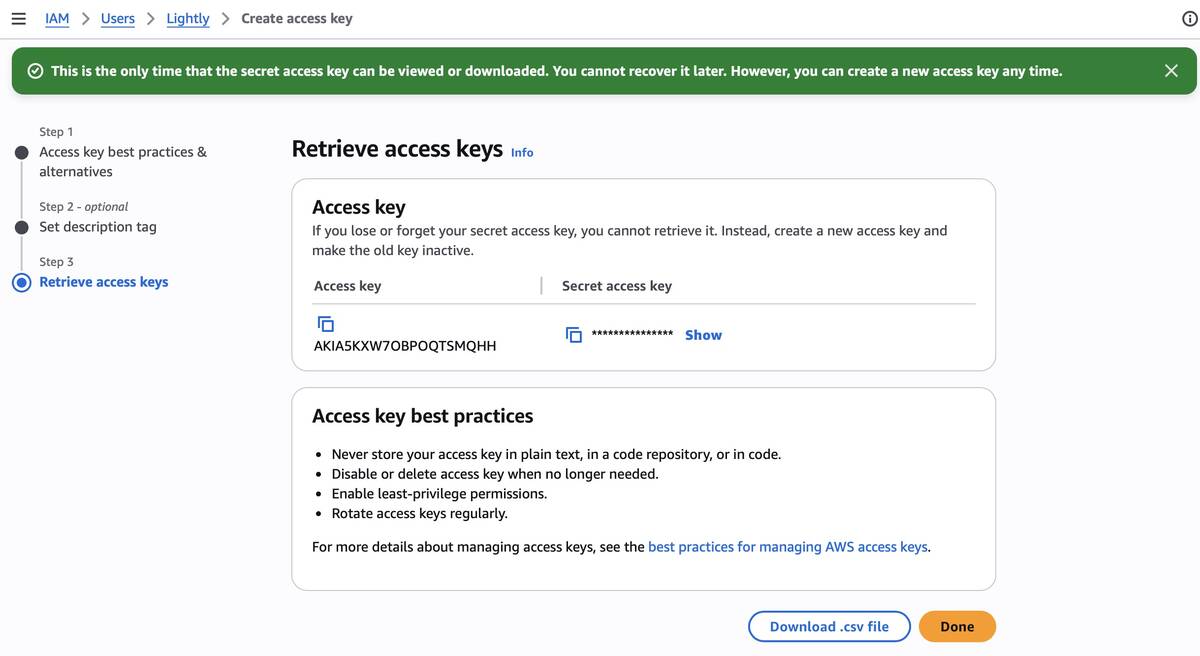
-
Store the Access key and Secret access key in a secure location. You will not be able to view the secret key again.
Next Step
Head to Cloud Storage — Step 2 to enter these credentials in the LightlyStudio Enterprise GUI.