Google Cloud Storage
LightlyOne allows you to configure a datasource like Google Cloud Storage (GCS). This guide will show you how to set up your GCS bucket so that LightlyOne can access it.
Set Up Access Policies
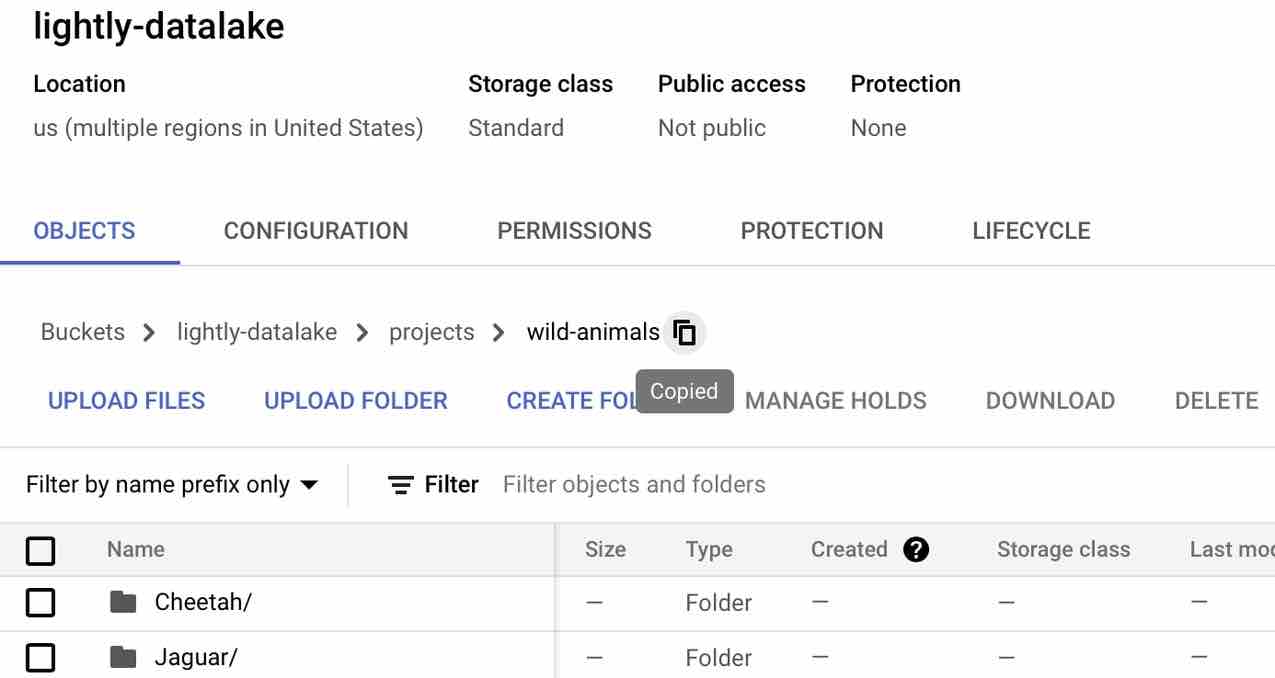
For the purpose of this guide, we assume you have a cloud bucket called lightly-datalake and a folder within that bucket called projects/wild-animals/.
-
Go to the dashboard of your gcloud project with the cloud bucket. Look under Project Info, find your Project-ID, and write it down.
-
From the dashboard, navigate to "Resources" -> "Storage" -> the lightly-datalake bucket and from there to projects/wild-animals/. Copy the path, in this case, lightly-datalake/projects/wild-animals.

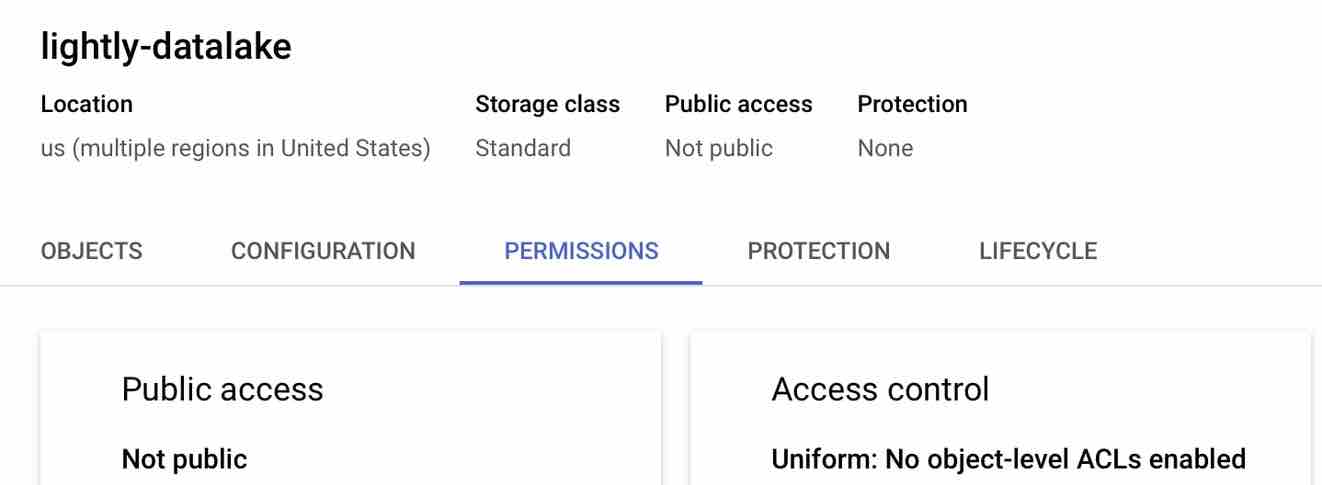
- Navigate to the tab Permissions. It is recommended (but not required) to set your access control to uniform.

-
Navigate to IAM & Admin -> Roles.
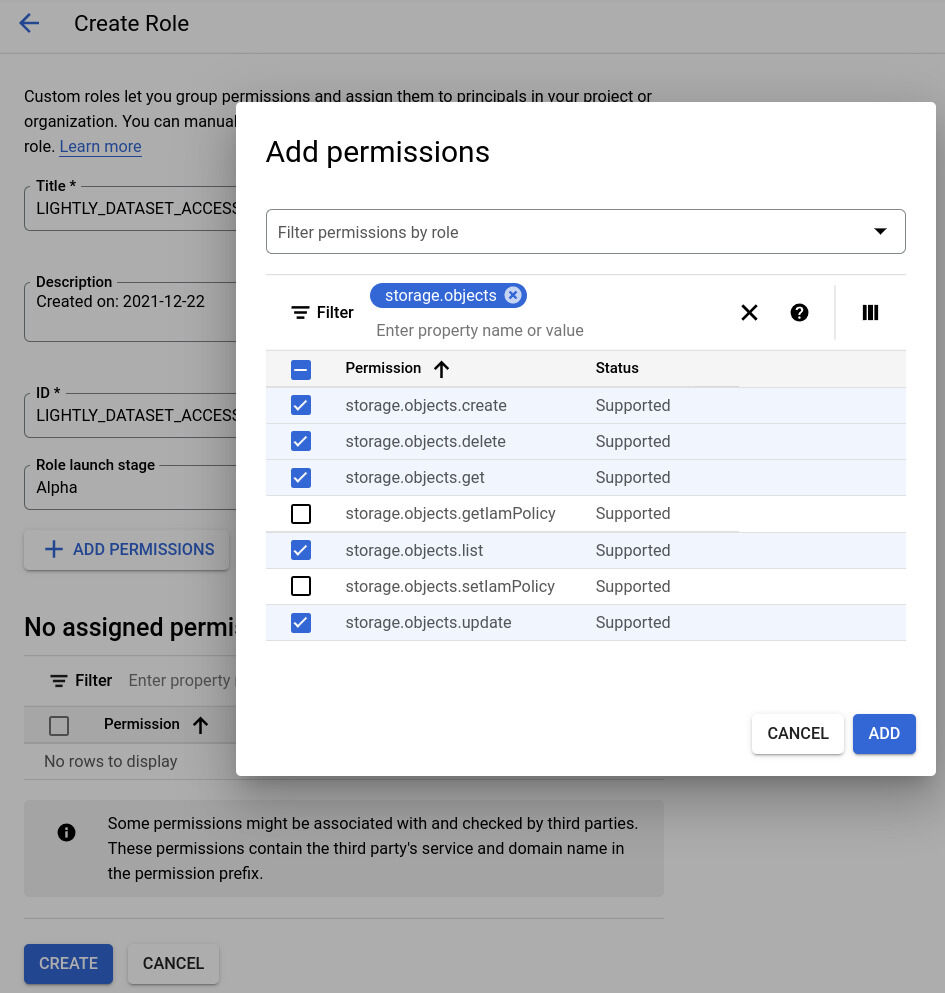
- Create a new role with the same title and ID. You can call it LIGHTLY_DATASET_ACCESS.
- Click on “Add Permissions” and then search for storage.objects
- Add the permissions storage.objects.get, storage.objects.list, storage.objects.create, storage.objects.delete and storage.objects.update (as shown in screenshot below).
- After adding the permissions, create the role.

-
Navigate to APIs -> Credentials.
- Click on "Create Credentials", choose Service Account and insert the name LIGHTLY_USER_WILD_ANIMALS.
- As the description states, set the "Service account for the LightlyOne API to access the wild animals dataset".
- Click on "Create and Continue".
- Choose the Role you just created, i.e., LIGHTLY_DATASET_ACCESS.
- Add a condition with the title BUCKET_PROJECTS_WILD_ANIMALS and insert the condition below in the condition editor. Remember to change the bucket name and path to the folder. However, you must keep the "objects" in between. For more information, see IAM conditions.
(
    resource.type == 'storage.googleapis.com/Bucket' &&
    resource.name.startsWith("projects/_/buckets/lightly-datalake")
) || (
    resource.type == 'storage.googleapis.com/Object' &&
    resource.name.startsWith("projects/_/buckets/lightly-datalake/objects/projects/wild-animals")
)- Click on "Done" to create the service account
- You can change the roles of the service account later in the IAM.
- Navigate to APIs -> Credentials again if you are not already there.
- Find the just created user in the list of all service accounts.
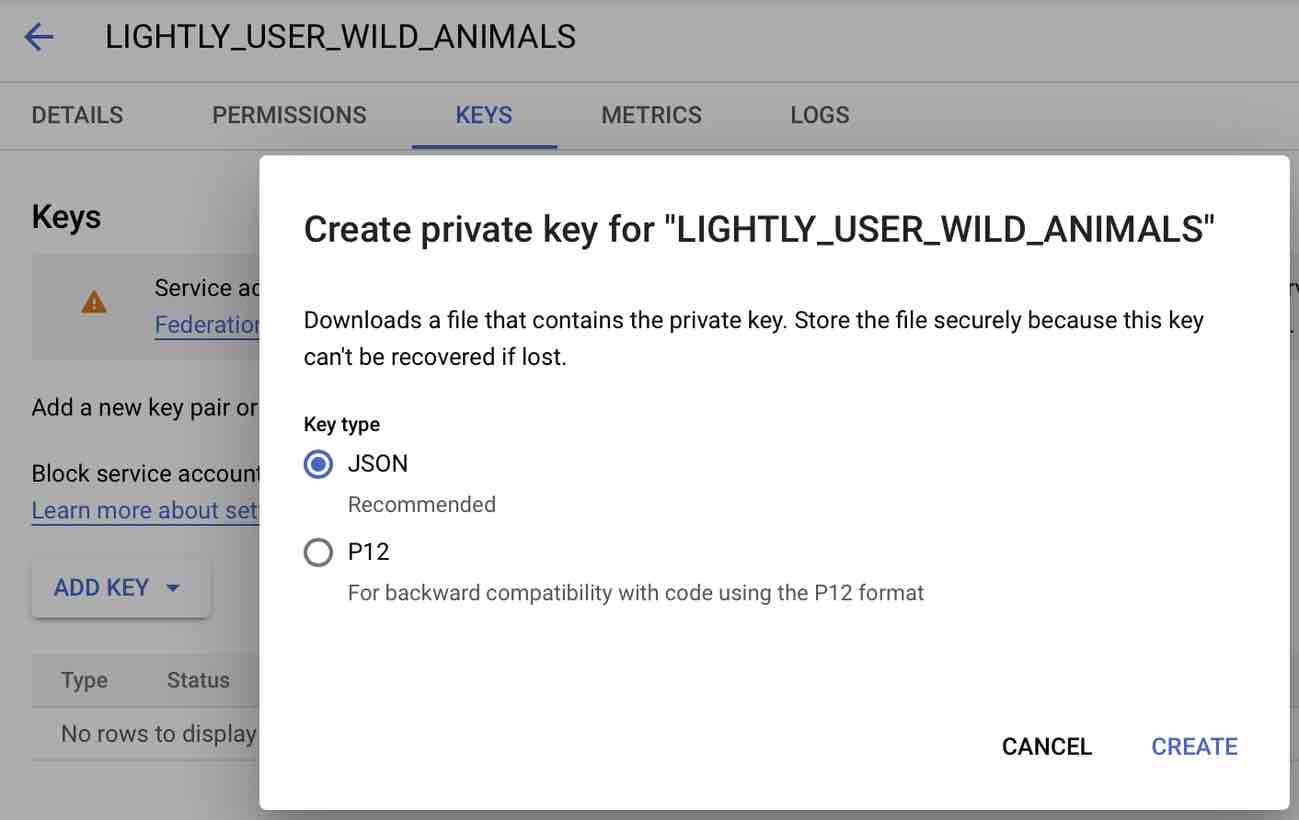
- Click on the user and navigate to the "keys" tab.
- Click on "Add key" and create a new private key in JSON Format. It will download the corresponding key file.

Configure a Datasource
That's it! Head over to Datasources to see how you can configure LightlyOne to access your data.
Updated 11 months ago
