What is LightlyOne?
A machine learning model can only be as good as the data it is trained on. Figuring out what the best data is can be very time consuming and expensive. With LightlyOne, you can automate data curation processes and process millions of images or thousands of videos every day.

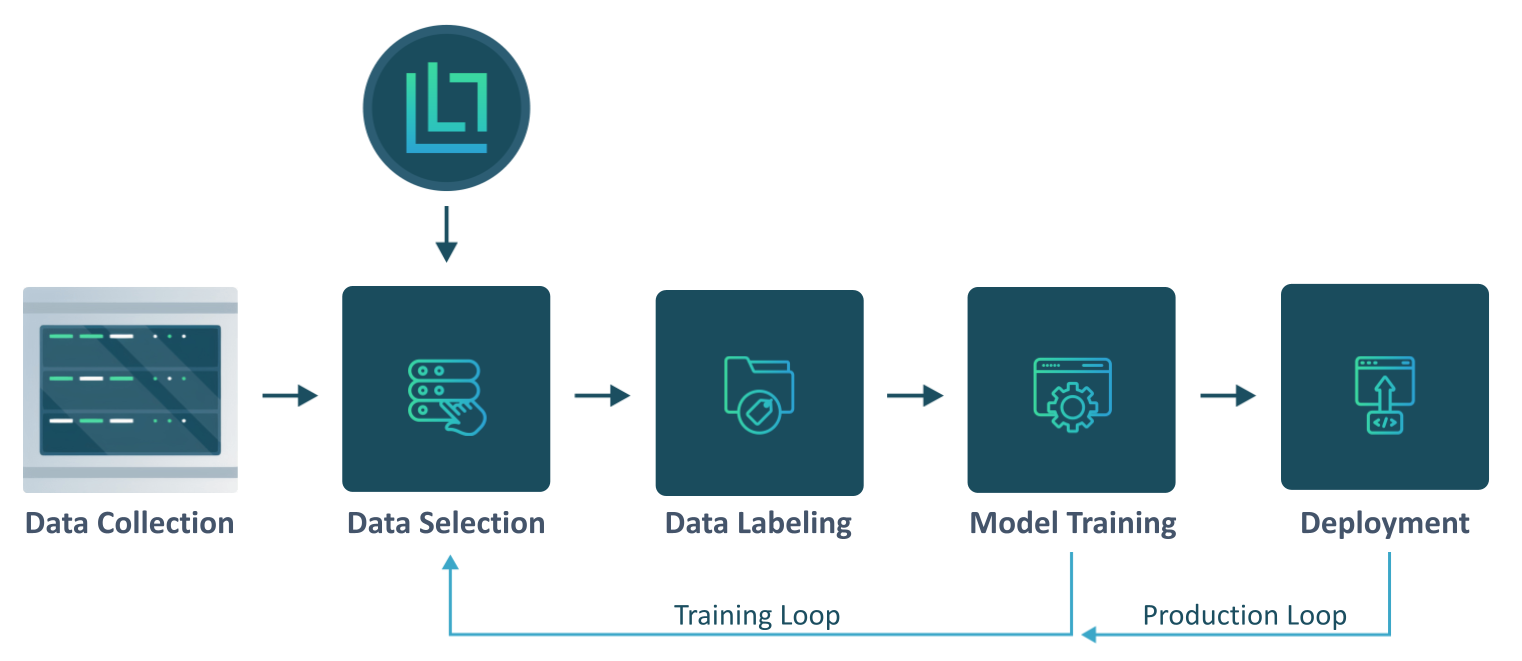
LightlyOne fits perfectly into your existing ML pipeline. Use it to select the most valuable data for labeling.
Automatically Select Data that Matters
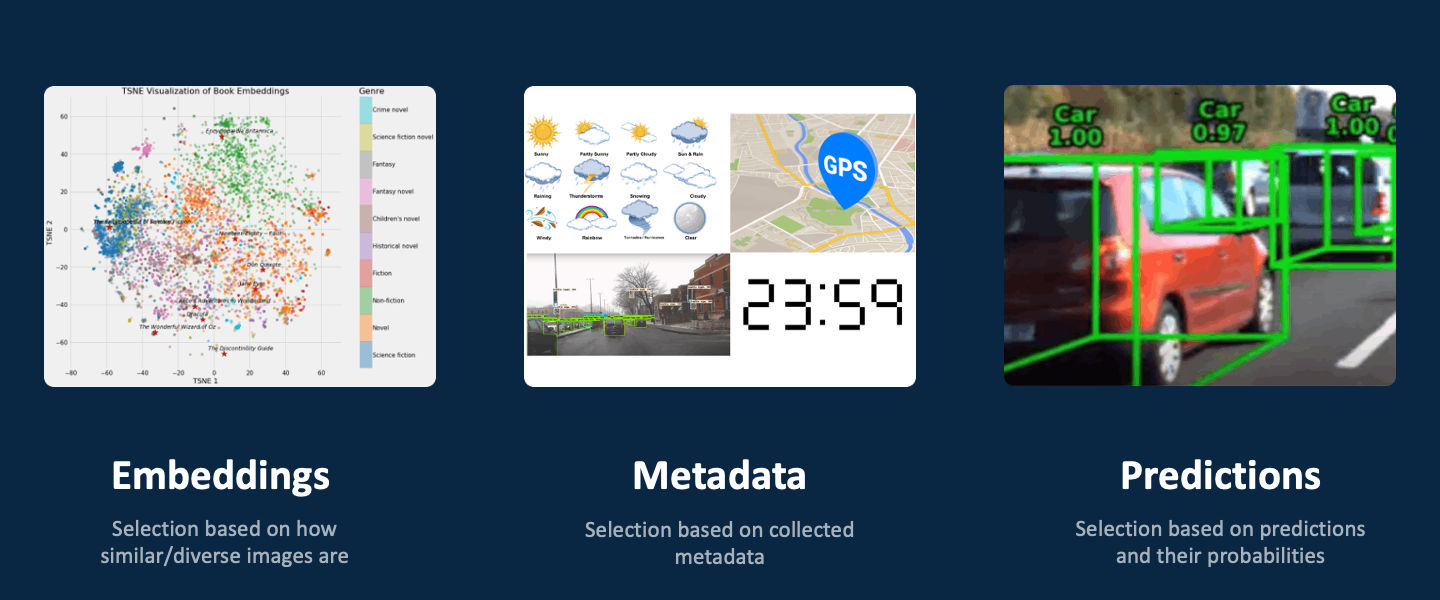
With LightlyOne, you can do Active Learning at scale. You can use inputs such as embeddings, metadata and model predictions to select the most valuable subset you want to use for labeling and model training.
By combining the three inputs, you can build your active learning strategies to find, for example:
- images that are potential outliers or out of distribution based on embeddings
- balancing the selected data based on locations and weather conditions provided as metadata
- crowded scenes where the model predictions have low confidence

LightlyOne supports using a combination of embeddings, metadata and predictions for efficient data selection.
How does LightlyOne Work?
LightlyOne is an intelligent system designed to process raw, unlabeled image data, select the most informative samples for labeling, and mitigate dataset bias. Lightly scales to big datasets with millions of images or thousands of videos. Processing these large datasets requires a special architecture.
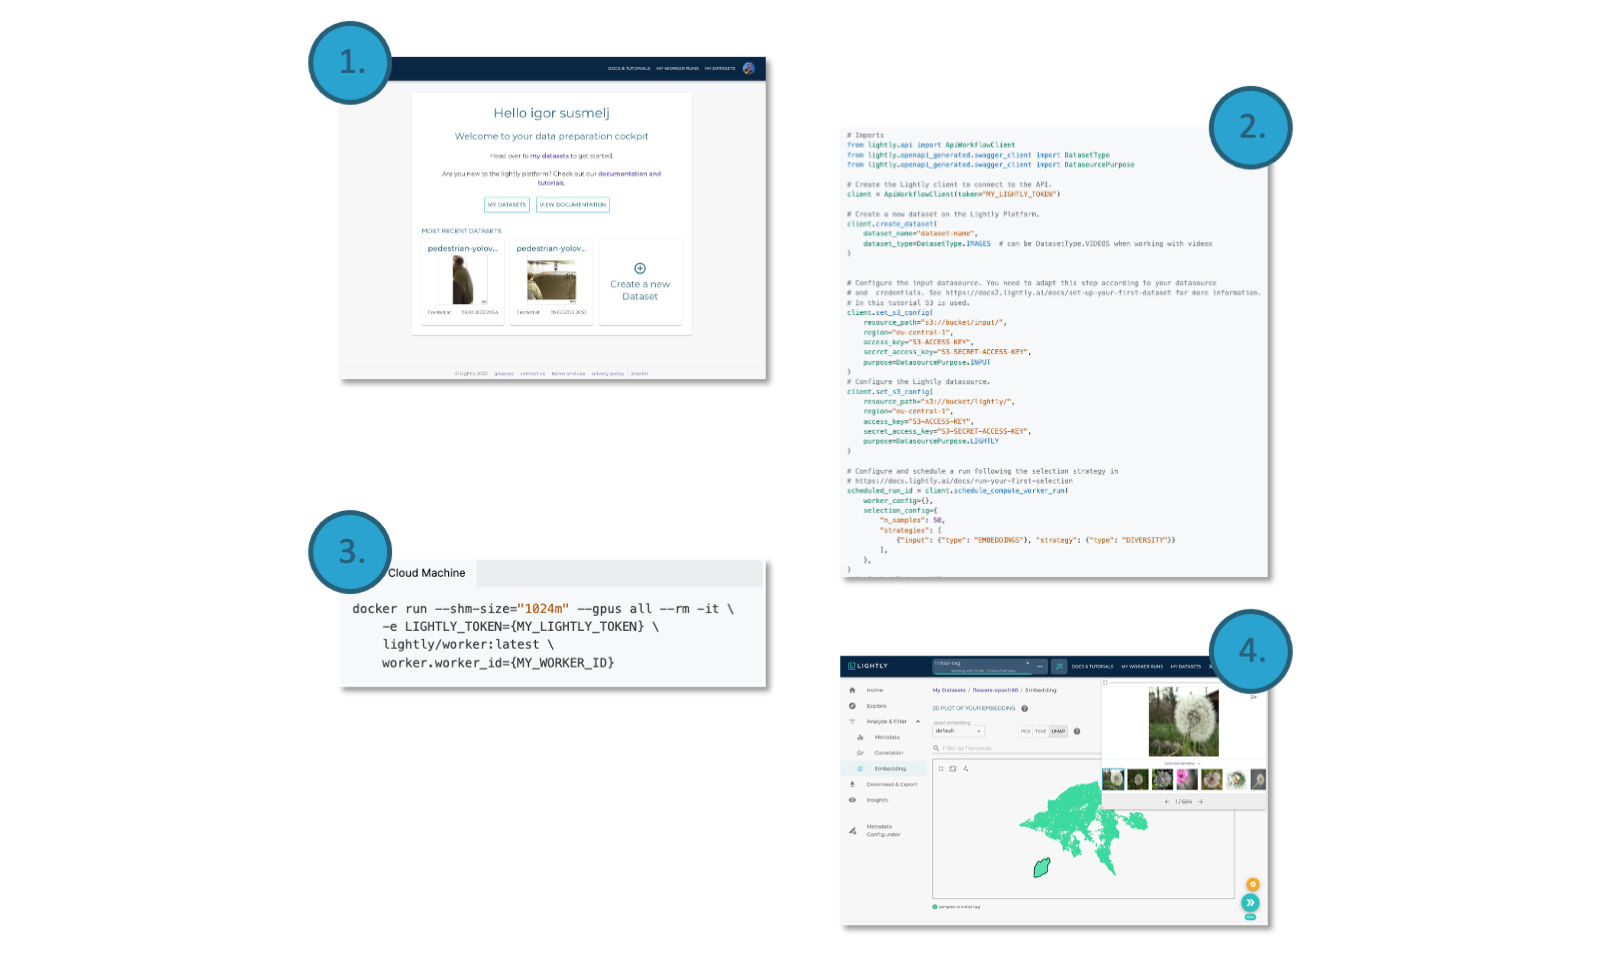
You can use LightlyOne in just four simple steps:
- Create an account on the LightlyOne Platform.
- Create a new data curation job using our Python SDK.
- Spin up the LightlyOne Worker Docker container to process the new job.
- Enjoy the curated dataset either using our easy to use API or on the Platform.

The LightlyOne Workflow
Following, you will see a brief overview of the architecture.
Datasource
A datasource provides LightlyOne with access to the data. Currently, LightlyOne supports the following types of datasources:
- AWS Simple Cloud Storage (S3)
- Google Cloud Storage (GCS)
- Azure blob storage
- Local storage (Local drives, NFS, CIFS/SMB)
The solution will access data directly from your data source and stream it from there. Your data remains secure.
LightlyOne Worker
The LightlyOne Worker is a Docker container designed to process large datasets. You host it yourself on a machine of your choice. The LightlyOne Worker processes runs from a run queue and stores the outputs back to your cloud storage.
LightlyOne Platform
The LightlyOne Platform is used for the orchestration of workflows and analytics. It keeps track of the state of your dataset, allows sharing datasets with co-workers or labeling partners, and much more. To use LightlyOne, you need to create an account for the LightlyOne Platform.
Lightly Python Client
Use the Lightly Python client to send commands to the LightlyOne Platform and workers. You can schedule runs directly from your Python code. This allows complete control over the process, easy reproducibility, and automates your data selection pipeline.
Next Step
See how to setup LightlyOne on your machine in our getting started section or follow our quick start guide!
Updated 6 months ago
